Wall paneling is an excellent way to add character and style to any room in your home. Whether you’re looking for a modern, minimalist look or a more traditional, classic style, wall paneling can transform your walls and enhance your décor. Best of all, with a little DIY know-how, you can easily create your own wall paneling project. In this step-by-step guide, we’ll show you how to install MDF or plywood panels on your walls, giving your room a professional and stylish finish. With the right materials, tools, and techniques, you can complete this project in just a few days and enjoy the results for years to come. So, let’s get started!
Materials Needed:
- MDF (medium-density fiberboard) or plywood panels
- Wood glue
- Brad nails or finishing nails
- Sandpaper
- Primer and paint or stain
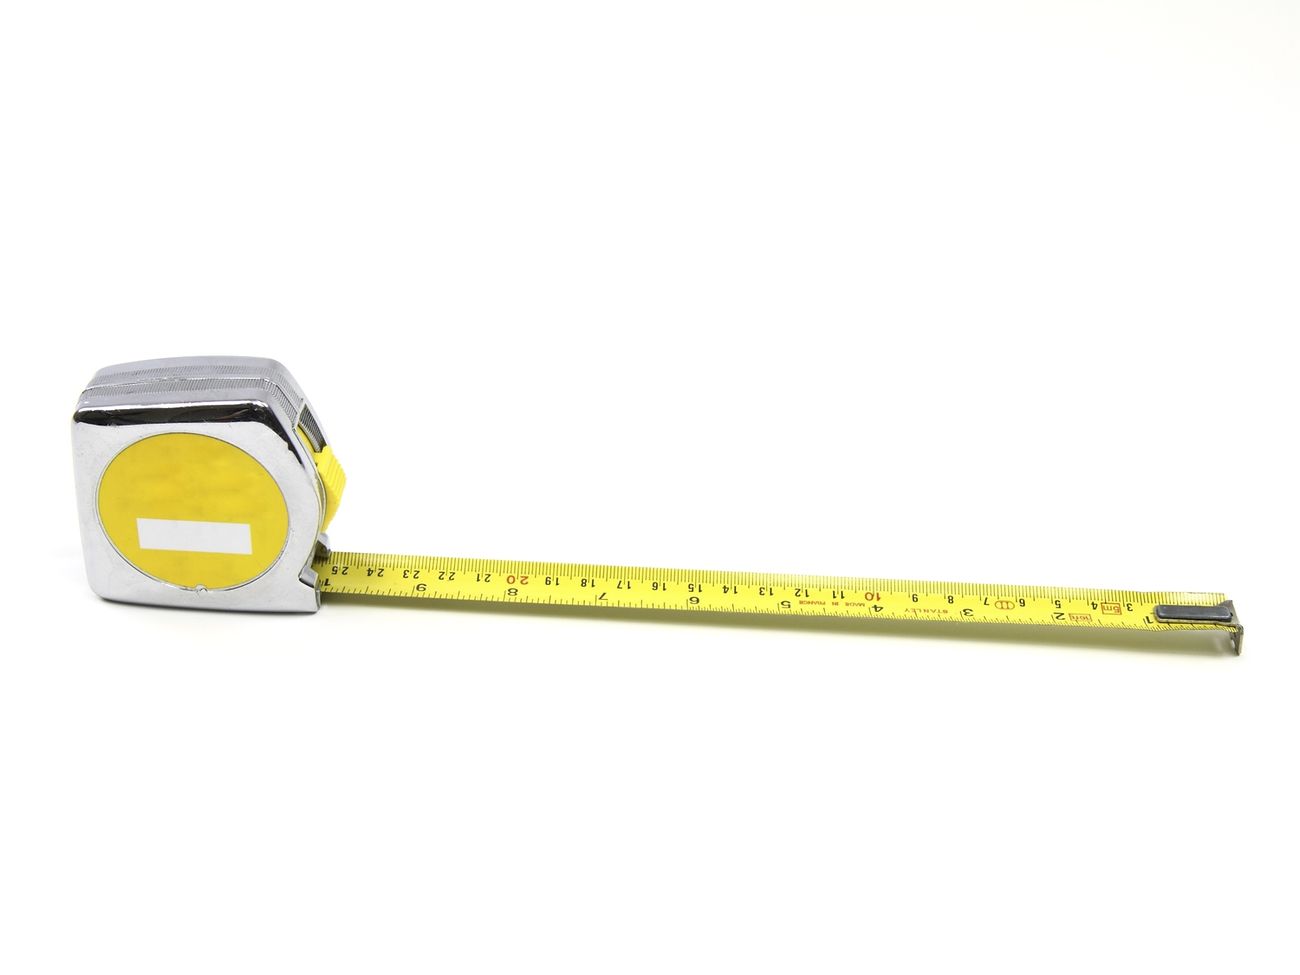
- Measuring tape
- Saw
- Level
- Paintbrush or roller
- Painters tape
Step 1: Measure the wall where you plan to install the wall paneling. Measure the height and width of the wall and calculate how many panels you will need.
Step 2: Purchase the MDF or plywood panels from a local hardware store or online. You can choose the thickness of the panels, but 1/4 inch or 1/2 inch thickness is recommended.
Step 3: Cut the panels to size using a saw. Use the measurements from step 1 to cut the panels to the correct height and width. Be sure to measure carefully and use a straight edge to ensure straight cuts.
Step 4: Sand the edges of the panels to remove any rough spots or splinters. Sand the surface of the panels to create a smooth finish.
Step 5: Apply wood glue to the back of each panel and press them firmly against the wall. Use a level to ensure that the panels are straight and even.
Step 6: Secure the panels to the wall using brad nails or finishing nails. Place the nails about 1 inch from the edge of the panel to prevent splitting. Nail each panel at the top and bottom, and in the center of the panel.
Step 7: Continue installing the panels in a row until the entire wall is covered. Use painters tape to hold the panels in place while the glue dries.
Step 8: Fill any nail holes with wood filler and sand them smooth. Wipe the wall with a damp cloth to remove any sawdust.
Step 9: Apply primer and paint or stain to the panels. Use a paintbrush or roller to apply an even coat of paint or stain. Allow the first coat to dry completely before applying a second coat.
Step 10: Enjoy your newly paneled wall! Your wall paneling DIY project is complete.